Discover how to make homemade Limoncello with this easy and delicious recipe. Learn the best tips, ingredients, and steps to create the perfect Italian lemon liqueur at home.
Introduction
If you’ve ever traveled to Italy or dined at an authentic Italian restaurant, you’ve likely encountered Limoncello, the bright, citrusy liqueur served chilled as a digestivo. Now imagine savoring that same vibrant flavor, but from a bottle you made yourself. Learning how to make homemade Limoncello is not only easy and fun, but it also results in a beverage that’s far superior to most store-bought varieties.
In this comprehensive guide, we’ll show you step-by-step how to make Limoncello at home with simple ingredients. Whether you’re a seasoned home chef or just starting out, this recipe will help you create a smooth, delicious, and authentic Italian lemon liqueur.
What is Limoncello?
Limoncello is a traditional Italian liqueur made from lemon zest, alcohol, water, and sugar. It originates from Southern Italy, particularly the Amalfi Coast, Sorrento, and Capri regions. This bright yellow liqueur is typically served chilled in small glasses and enjoyed after a meal to aid digestion.
Homemade Limoncello is loved for its intense lemon flavor, velvety texture, and the personal touch you can bring to each batch. The beauty of making Limoncello from scratch is that you can control the sweetness and strength, creating a customized liqueur that’s perfect for sipping or gifting.
Why Make Homemade Limoncello?
Here are a few compelling reasons to learn how to make homemade Limoncello:
- Superior Flavor: Fresh lemons and high-quality alcohol produce a brighter, fresher taste than many commercial versions.
- Customizable: You can adjust sweetness and alcohol content to suit your taste.
- Cost-Effective: Making Limoncello at home is more affordable than buying premium brands.
- Impressive Gift: Homemade Limoncello makes a fantastic, thoughtful gift for friends and family.
Ingredients for Homemade Limoncello
To get started, you only need a handful of simple ingredients:
Essential Ingredients:
- 10–12 organic lemons (preferably untreated, unwaxed)
- 1 liter (about 34 oz) of high-proof alcohol
(Everclear, vodka, or grain alcohol at 95% ABV works best) - 4 cups water
- 3 cups granulated sugar
Equipment Needed:
- A large glass jar with a tight-fitting lid
- A fine grater or vegetable peeler
- Fine mesh strainer or cheesecloth
- Funnel
- Glass bottles for storage
How to Choose the Right Lemons
The quality of your lemons is crucial when making homemade Limoncello. Since you’ll be using only the zest, it’s essential to select:
- Organic lemons to avoid pesticide contamination
- Fresh, firm lemons with vibrant yellow skin
- Unwaxed lemons, as wax can interfere with the infusion process
The peel contains the oils responsible for Limoncello’s distinctive flavor. Avoid peeling too deep—aim for just the yellow zest, not the bitter white pith underneath.
How to Make Homemade Limoncello: Step-by-Step Guide
Step 1: Prepare the Lemons
- Wash the lemons thoroughly under warm water.
- Use a vegetable peeler or microplane to remove the yellow zest. Be careful not to include the white pith.
- Place the lemon zest in your large glass jar.
Step 2: Add Alcohol
- Pour the alcohol over the lemon zest in the jar.
- Seal the jar tightly and shake gently.
- Store the jar in a cool, dark place for 7–14 days, allowing the alcohol to extract the lemon oils.
Pro Tip: Shake the jar gently every day to enhance infusion.
Step 3: Prepare Simple Syrup
After the infusion period:
- In a large saucepan, combine 4 cups of water and 3 cups of sugar.
- Heat over medium heat, stirring until the sugar dissolves completely.
- Remove from heat and let the syrup cool to room temperature.
Step 4: Strain the Infusion
- Using a fine mesh strainer or cheesecloth, strain the lemon zest from the infused alcohol.
- Discard the zest.
Step 5: Combine and Bottle
- Mix the infused alcohol with the cooled simple syrup.
- Taste your Limoncello and adjust sweetness if desired.
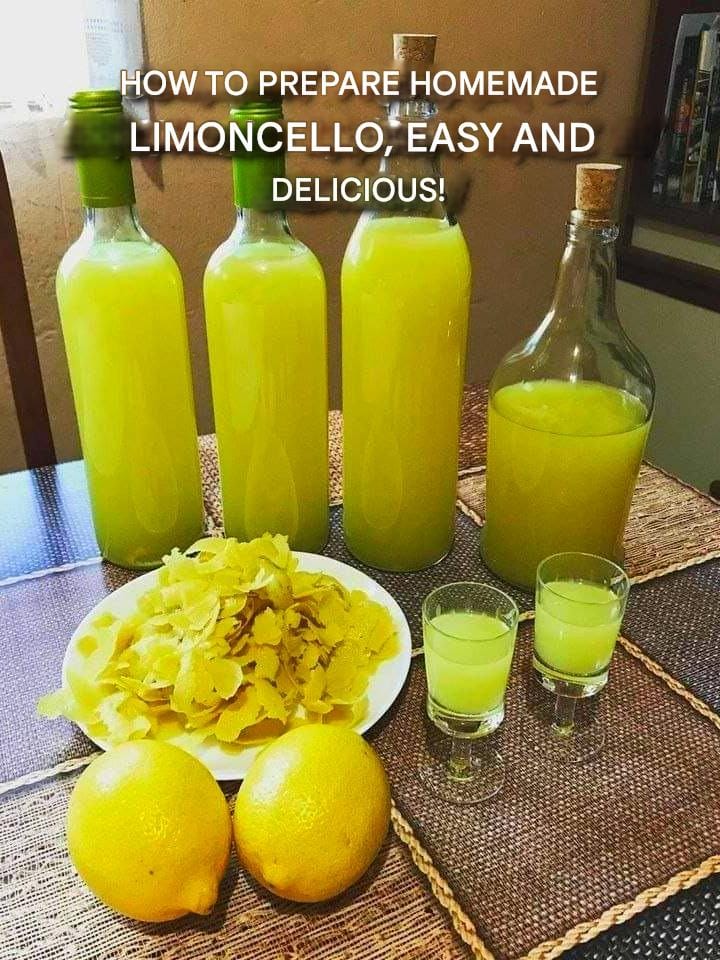
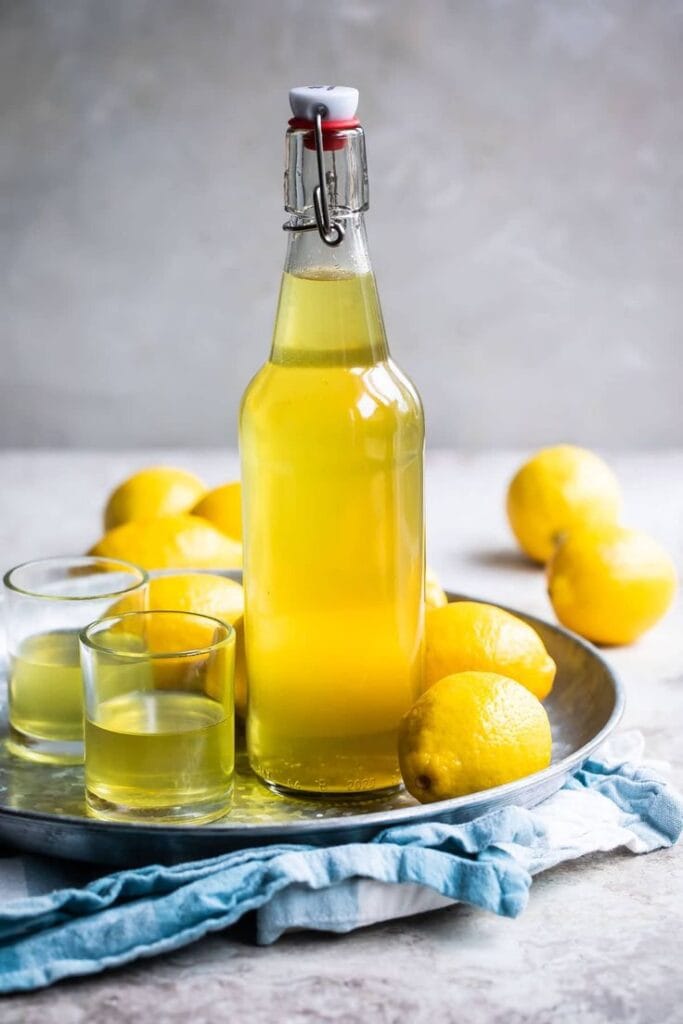
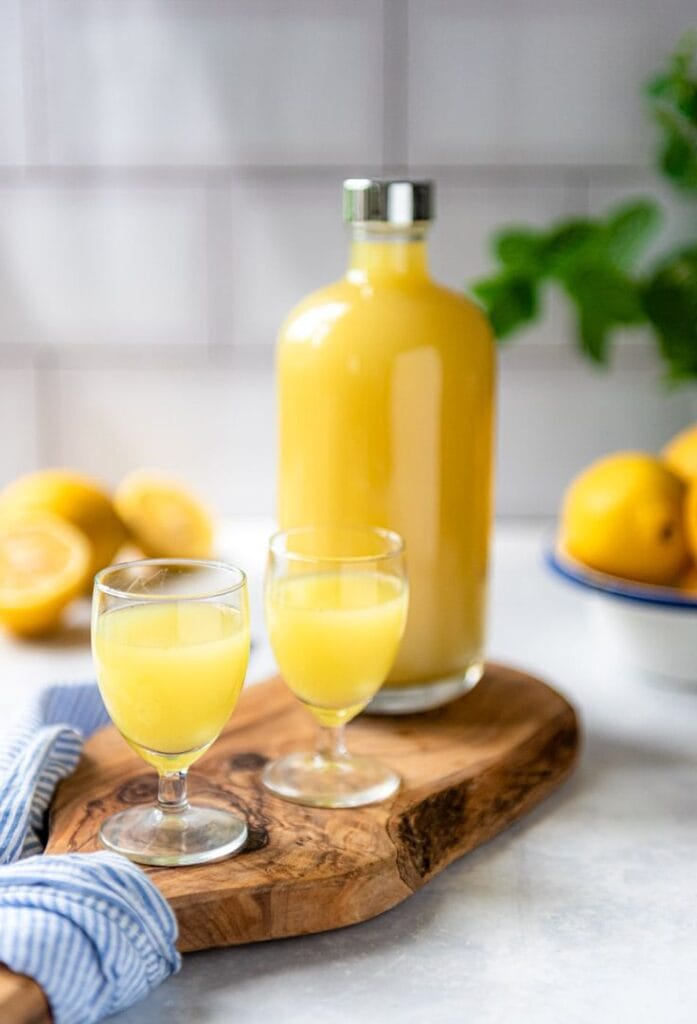
- Funnel the finished Limoncello into clean glass bottles.
- Seal the bottles and let them rest for at least 7 days before consuming. The longer the resting period, the smoother the flavor.
Storage Tips
- Refrigeration: Store your homemade Limoncello in the refrigerator for a chilled, refreshing sip.
- Freezing: For an even colder, almost syrupy consistency, store your Limoncello in the freezer.
- Properly stored, homemade Limoncello can last up to one year—though it’s often enjoyed much sooner!
How to Serve Limoncello
Serving homemade Limoncello is part of the experience. Here are a few tips:
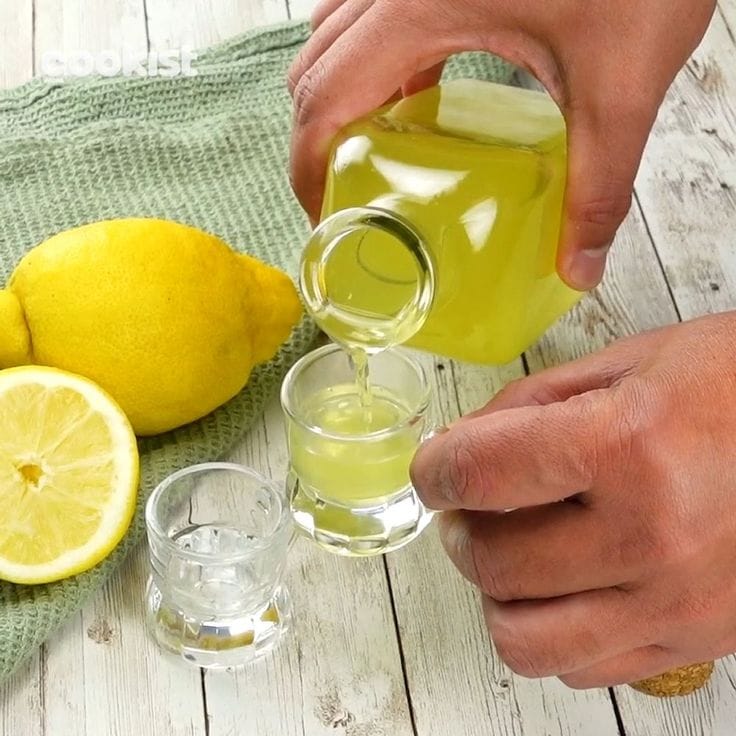
- Serve in chilled shot glasses.
- Enjoy neat and ice-cold after meals as a digestivo.
- Use Limoncello in cocktails, desserts, or to drizzle over fruit and gelato.
Variations on Homemade Limoncello
Creamy Limoncello (Limoncello Crema)
For a luxurious twist, replace water with whole milk or half-and-half in the syrup stage. Be sure to keep creamy Limoncello refrigerated and consume it within a few weeks.
Orange Limoncello (Arancello)
Substitute lemons with oranges to create a sweet, aromatic orange liqueur.
Mixed Citrus Limoncello
Combine lemon zest with lime or grapefruit zest for a unique citrus blend.
Expert Tips for Perfect Homemade Limoncello
- Use high-proof alcohol for the best extraction of lemon oils.
- Don’t rush the infusion; patience results in better flavor.
- Avoid the white pith to prevent bitterness.
- Filter well for a clear, smooth Limoncello.
Common Mistakes to Avoid
Using Waxed Lemons
Wax can interfere with infusion and cause cloudiness. Always use organic, unwaxed lemons.
Including Pith
Accidentally zesting the bitter white pith will negatively affect the flavor. Only zest the yellow layer.
Rushing the Resting Period
Allow your Limoncello to rest for at least one week after bottling. This mellows the flavors and improves overall taste.
Health Benefits of Limoncello (in Moderation)
While Limoncello is an alcoholic beverage, it does offer some potential benefits when consumed in moderation:
- Digestive aid: Traditional Italian culture recommends Limoncello after meals to aid digestion.
- Rich in vitamin C: Lemon zest contains antioxidants and vitamin C.
- Mood booster: The bright aroma of lemons can elevate mood and reduce stress.
Remember, moderation is key to enjoying these potential benefits.
Frequently Asked Questions (FAQs)
How long does homemade Limoncello last?
Stored properly in the refrigerator or freezer, homemade Limoncello can last for up to 12 months.
Can I use any type of alcohol?
Yes, but high-proof neutral alcohol such as Everclear or vodka is recommended for the best extraction and flavor.
Why is my Limoncello cloudy?
Cloudiness can occur if the simple syrup is too hot when mixed or if the zest includes too much pith. Cooling the syrup and careful zesting will help maintain clarity.
How strong is homemade Limoncello?
The final alcohol content depends on your dilution ratio, but homemade Limoncello typically ranges from 25% to 30% ABV.
Final Thoughts
Now that you know how to make homemade Limoncello, you can bring the sunshine of the Italian coast into your kitchen any time of year. This easy and delicious recipe allows you to craft a premium liqueur that surpasses store-bought versions in flavor and quality.
Whether you’re making it for yourself or gifting it to loved ones, homemade Limoncello offers endless opportunities for customization and enjoyment. Remember to select the best lemons, be patient with the infusion, and savor every sip of your handcrafted creation.
Ready to get started? Gather your ingredients and begin your journey to mastering the art of homemade Limoncello today!